Building BB-8: Part 1 – 3D Printing the Dome Assembly
I’ve been involved in robotics, electronics and 3D printing for a very long time. I knew I had to build a BB-8 the moment I saw that cute robot in the Star Wars movie. I was doing some research and was fortunate to chance upon the BB-8 Builders Club that provided the essential 3D files. They are a wonderful and helpful community.
The following is a video of the 1st printed dome panel.
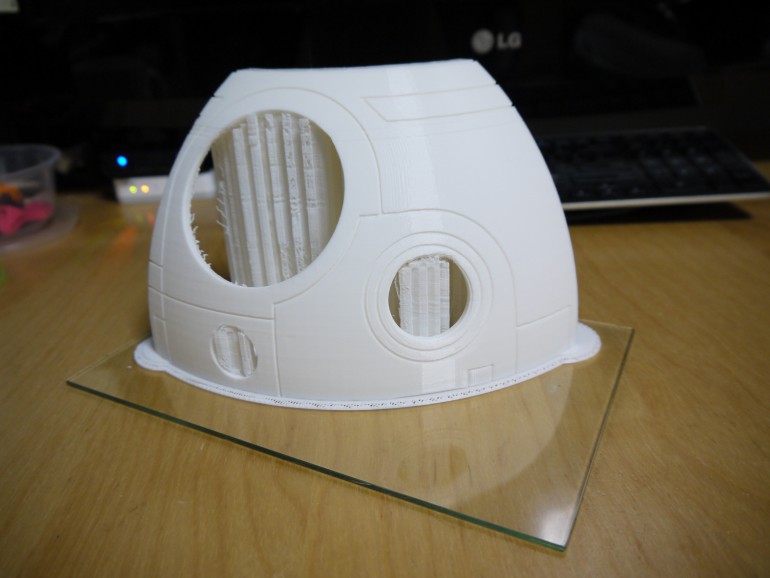
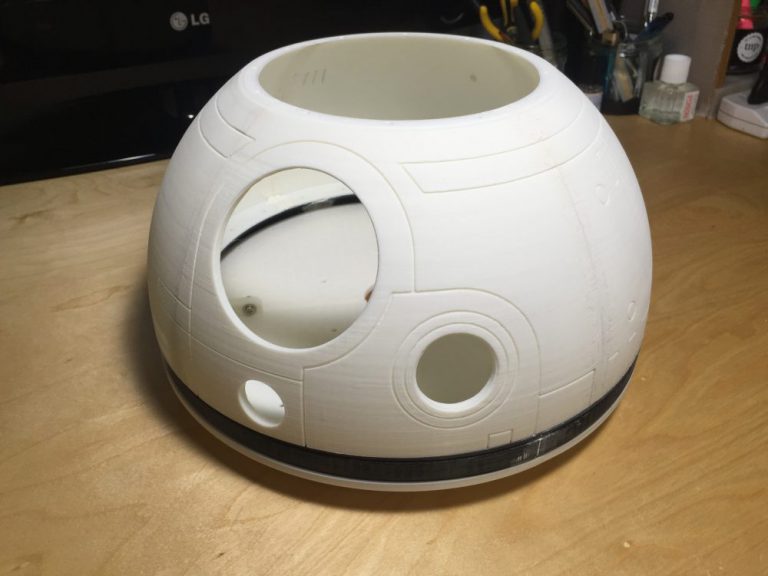
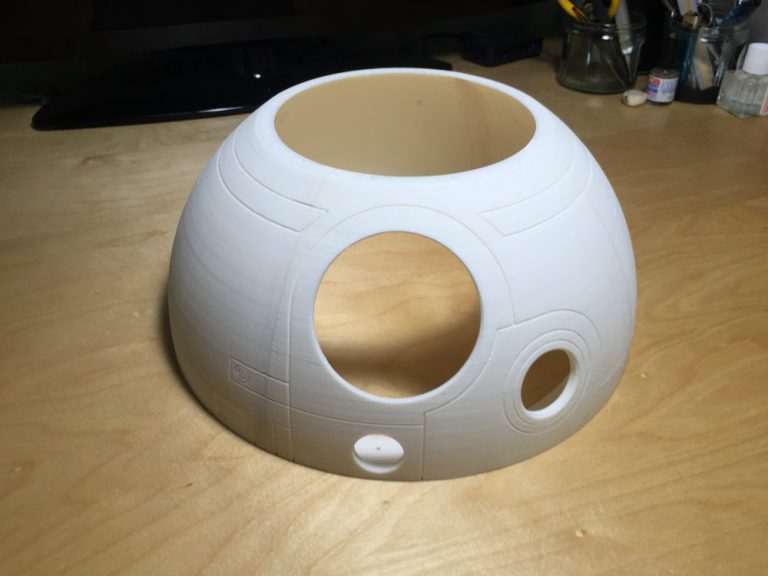
Tip: Do not use support as they are not necessary as long as you are using an active cooling fan or just place a fan in front of your printer. This will cut down the printing time significantly. The dome panels shown below are all printed without any support.
The following are the print settings that I used for most of my BB-8 prints on my Flashforge 3D printer:
- Layer > Primary Layer Height: 0.2 mm
- Layer > Top Solid Layers: 5
- Layer > Bottom Solid Layers: 5
- Layer > Outline/Perimeter Shells: 5
- Infill > Internal Fill Pattern: Fast Honeycomb
- Infill > Interior Fill Percentage: 10%
- Temperature > Extruder: 200°C
- Temperature > Heated Build Platform: 50°C
- Cooling > Layer 2 Onwards > Fan Speed: 100%
- Other > Speeds > Default Printing Speed: 3600 mm/min
The 3D printing filament colours needed are black, grey, orange, transparent and white.
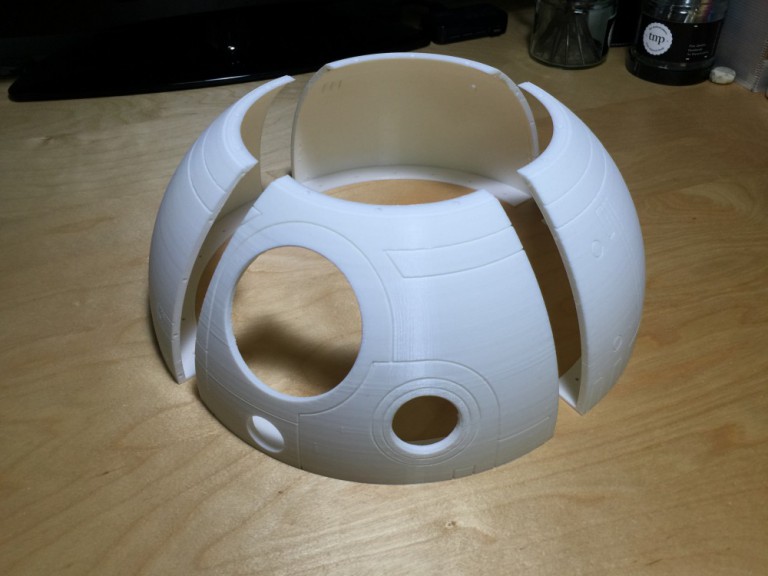
The dome panels are joined together using CA glue, such as the Tamiya CA Cement or my favourite Gorilla Super Glue.
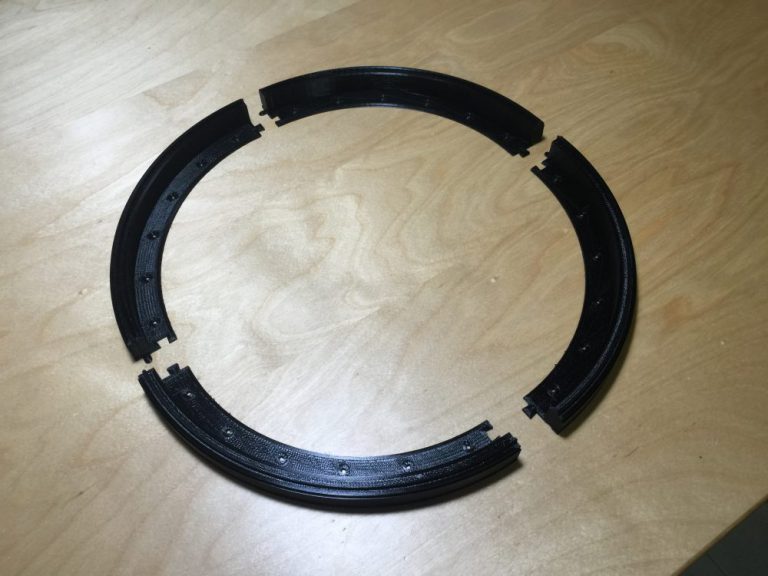
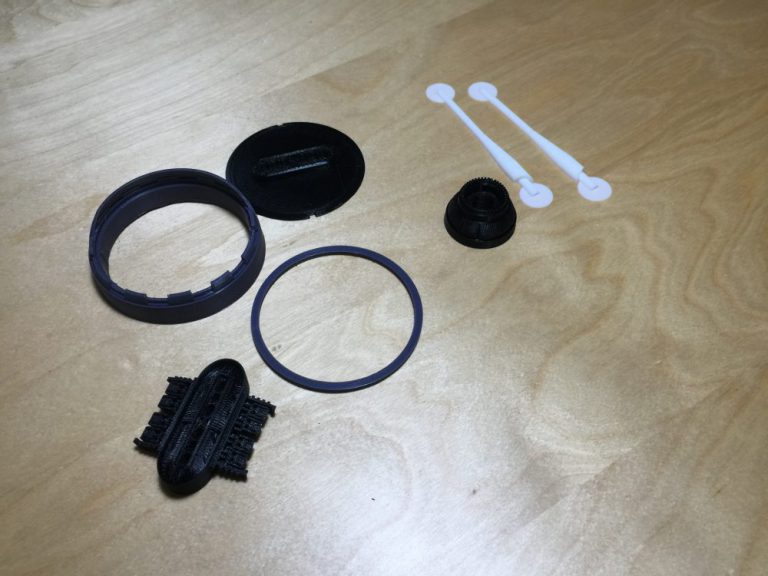
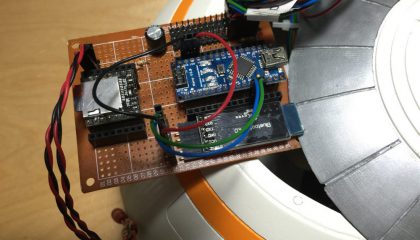
Here are more picture of BB-8’s dome assembly:
For more robotics, 3D printing and amazing Arduino projects, check out IXEN Robotics Singapore website.

