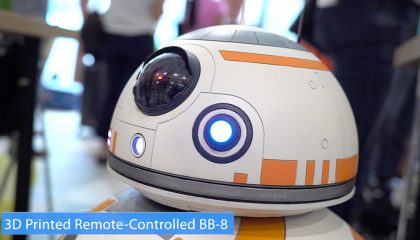
Building BB-8: Part 2 – Filling & Priming the Dome Assembly
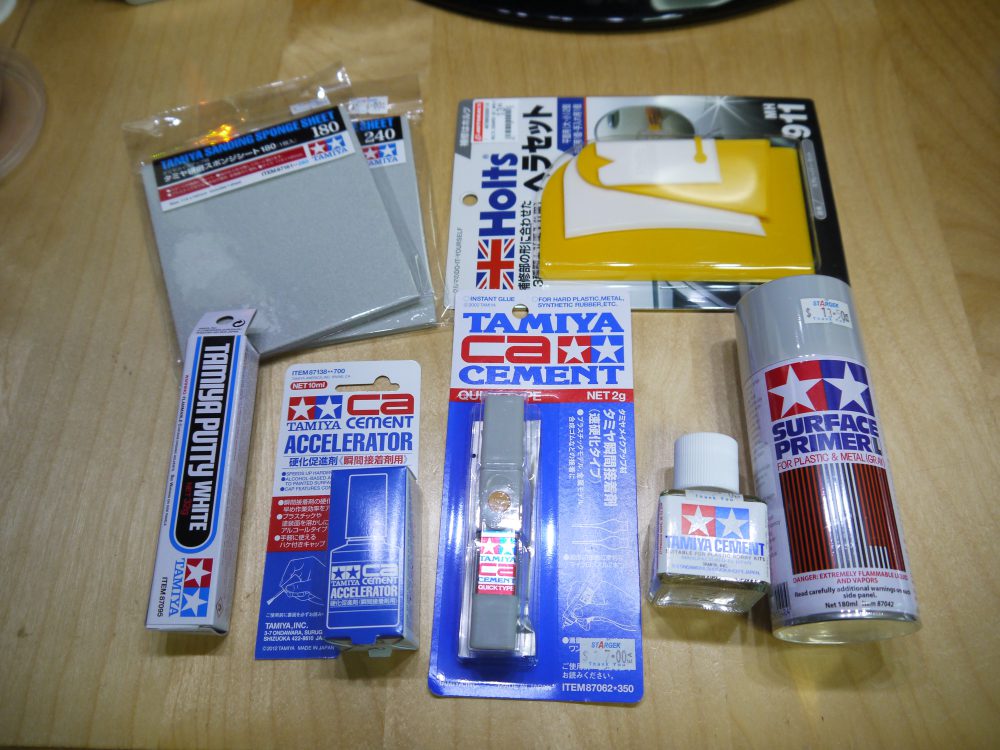
For joining parts together, don’t bother using the Tamiya Cement; It did not work for me. Instead using any CA glue such as the Tamiya CA Cement or my favourite Gorilla Super Glue should do the trick.
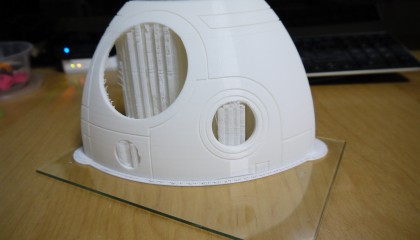
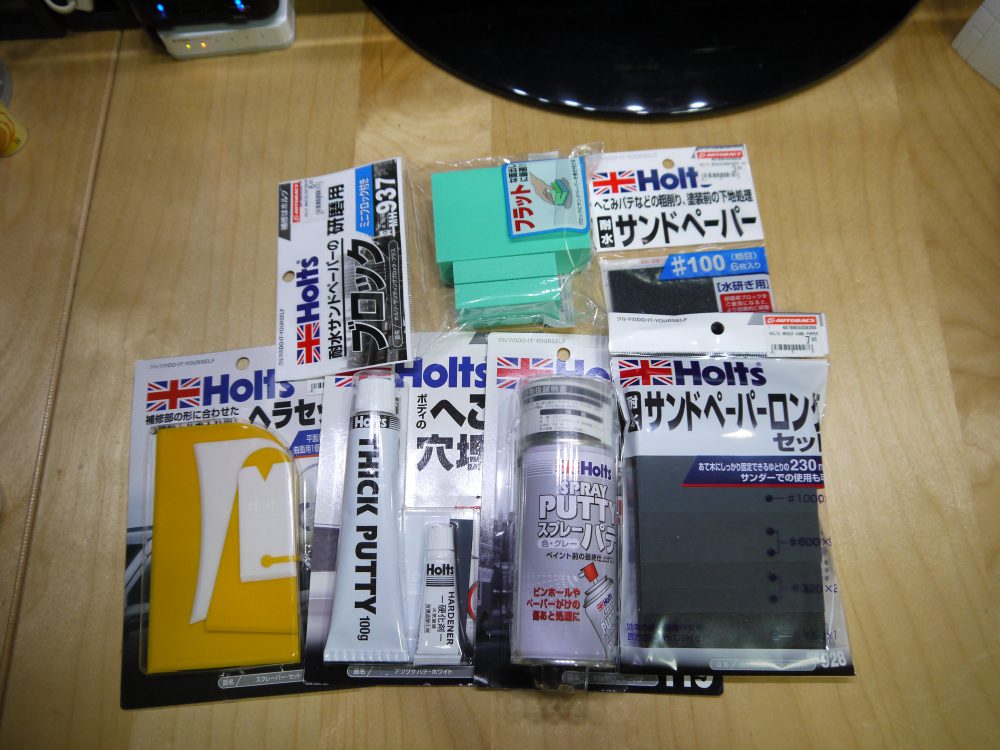
Once the dome panels have been 3D printed and assembled, it is time to smooth out any surface gaps from the dome. This can be done by applying fillers or putty. Most automotive body filler (such as those from Bondo) should work.
It is difficult to get my hands on Bondo fillers here in Singapore, so I tried using Tamiya and Holts putty. My preference for the filler is the Tamiya Putty White.
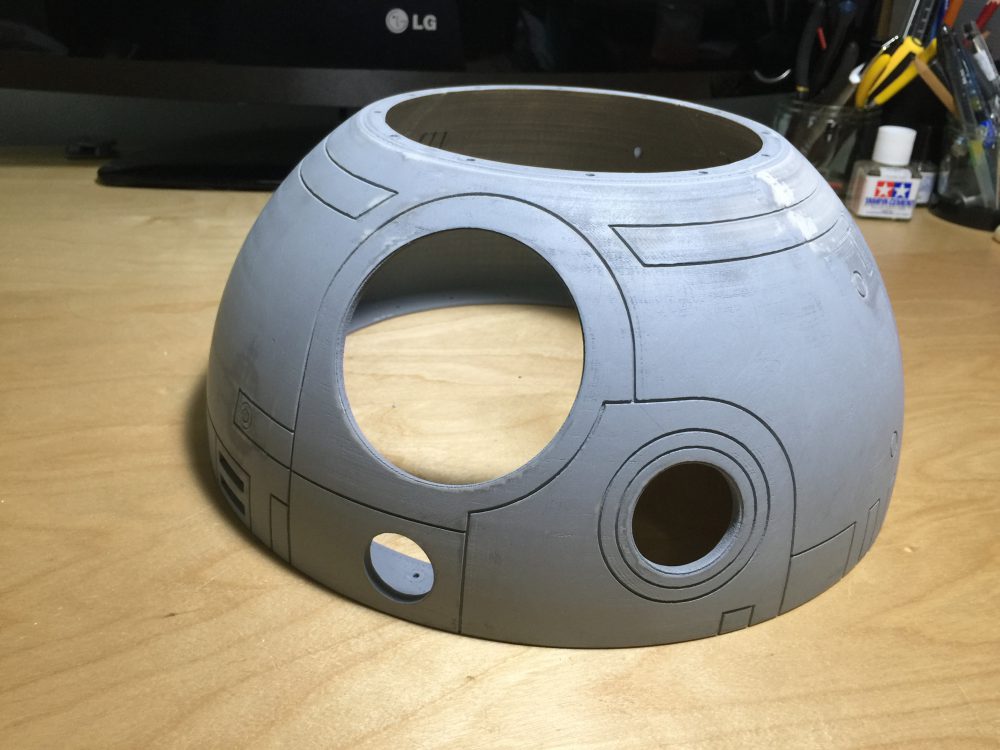
After filling the gaps, smooth out the surface using sandpaper. I usually start with a 150 grit rough sandpaper, followed by a 320 grit sandpaper and finishing off with a 500 grid sandpaper to make the surface really smooth.
Finally, use a primer to coat the surface before painting. Priming ensures better adhesion of paint to the surface. My preferred primer is the Tamiya Surface Primer Gray.
Priming also helps to make the flaws more visible. If you see any flaws, repeat the process; fill, sand, prime.
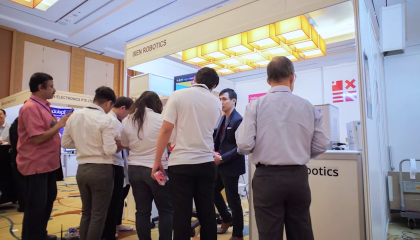
For more robotics, 3D printing and amazing Arduino projects, check out IXEN Robotics Singapore website.